Quick-Start
This guide will walk you through a really simple setup so you can get a feel for the workflow involved in setting up RBF drivers. It's not a particularly real-world example but it will serve to get you up and running quickly and give you an intuitive understanding of RBF Drivers.
Setting up the scene
Once you've got RBF Drivers installed, open up Blender and delete the default camera and light by selecting them in viewport and hitting x, or by selecting them in the outliner and choosing Delete from the context menu. You can leave the default cube where it is.
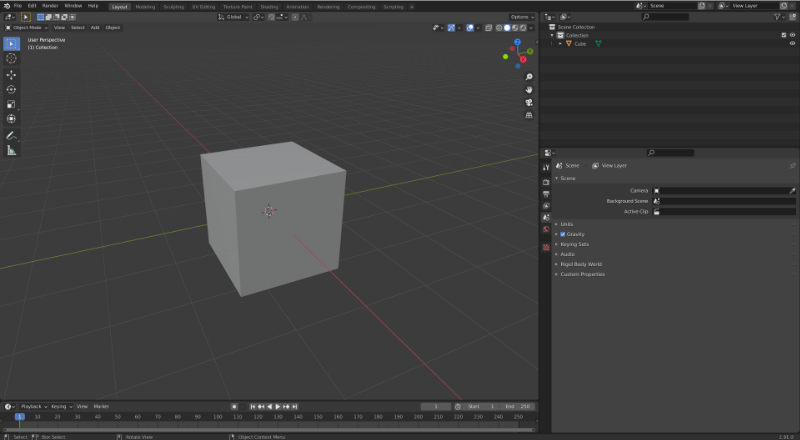
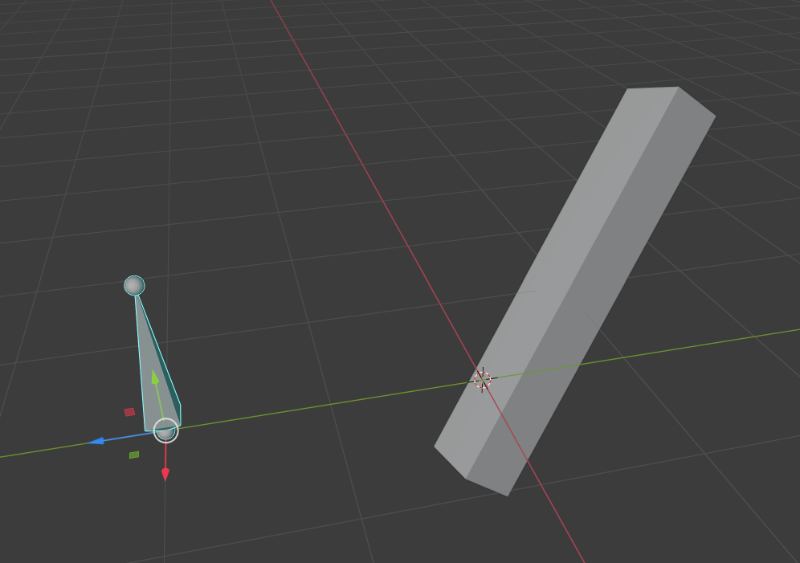
Add an armature object to the scene (shift-a or Add menu > Armature), and move it out of the way so you can see it beside the cube. 3 units along the Y-axis should do the trick.
Setting up the RBF driver
We're going to set up an RBF driver that uses the location of the bone to simultaneously drive all the transform properties of the cube next to it.
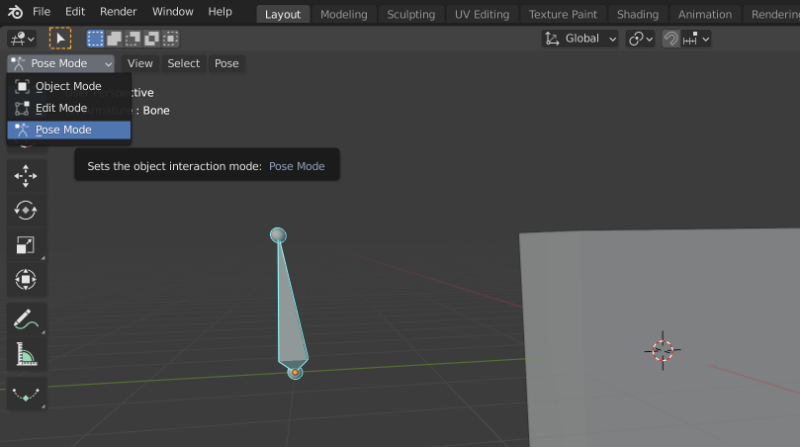
Since RBF drivers are attached to pose bones, we need to have the bone selected in pose mode. Select the armature object, put it into pose mode, and ensure the bone is active by clicking on it in the viewport.
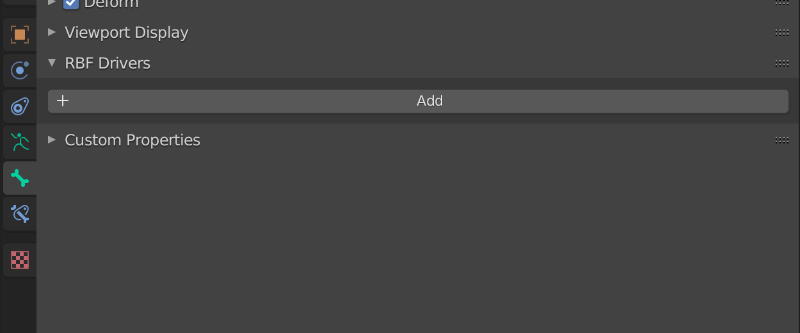
Now select the Bone Properties panel, find the RBF Drivers section and click Add to create a new RBF driver.
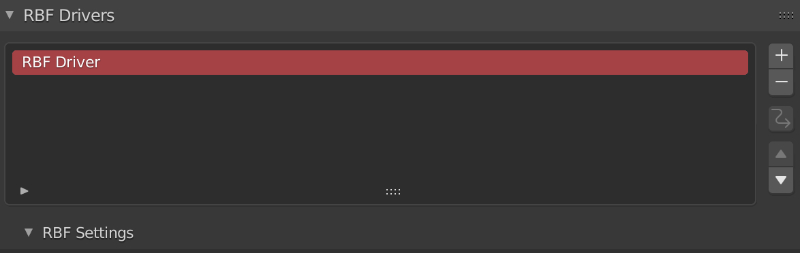
Note
You might notice that the RBF driver we just created is highlighted in red. This is just to let you know that it's not yet operational because we haven't defined any inputs, driven properties or poses yet. We're going to fix that next.
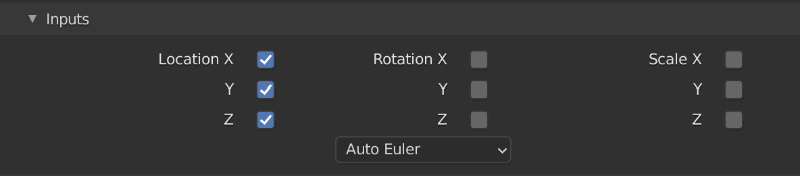
Add inputs
For this example, we're just going to be using a single location axis, but to keep things simple go ahead and select all the Location transform channels under the Inputs section of the RBF driver. Leave the others unchecked.
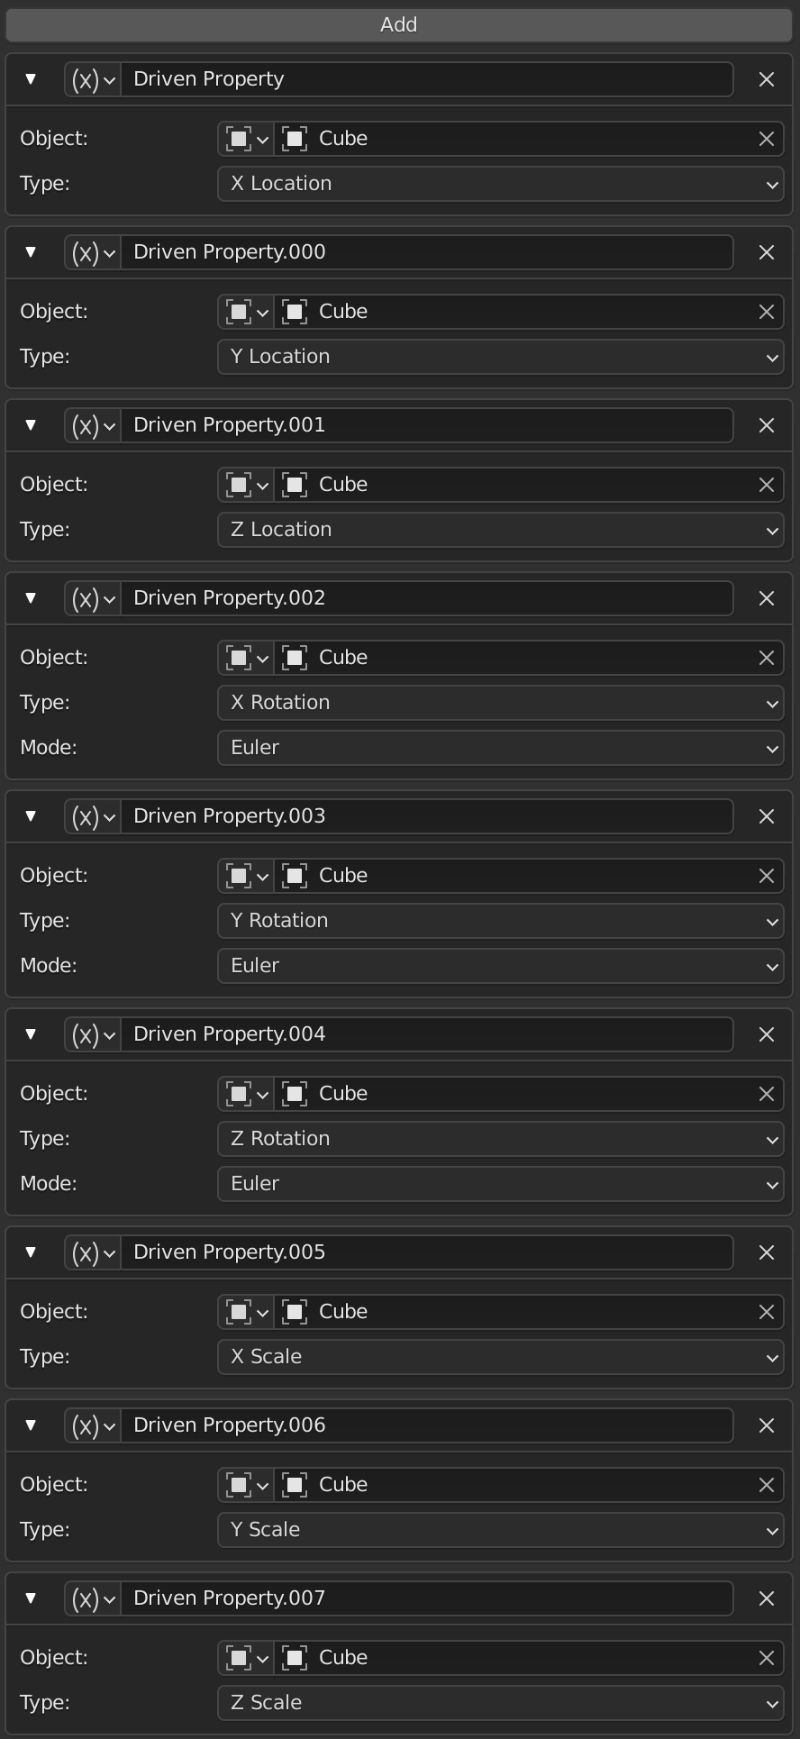
Add Driven Properties
Now we're going to add driven properties for each of the cube's transform channels.
- Click the Add button at the top of the Driven Properties section of the RBF Driver panel to create a new driven property.
- Change the driven property type to Transform Channel using the dropdown menu next to the driven property's name.
- Select the Cube from the Object field, and set the Type to X Location (it will probably be set as such by default)
Repeat the above steps for Y Location, Z Location, X Rotation, Y Rotation, Z Rotation, X Scale, Y Scale, and finally Z Scale. The Driven Properties panel should look like the image below.
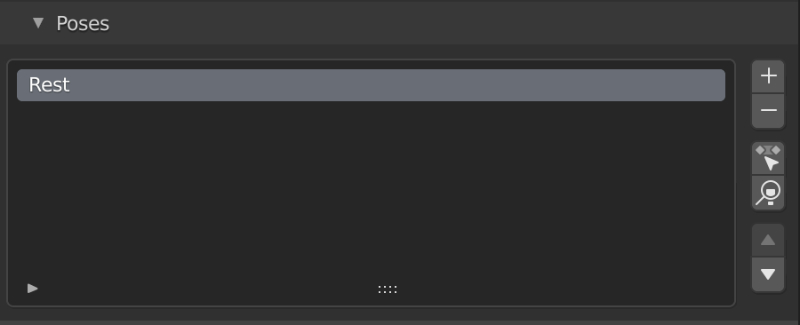
Adding Poses
Now that we've told the RBF driver what inputs we're using, and what properties we want to be driven, we're ready to define poses for it to follow.
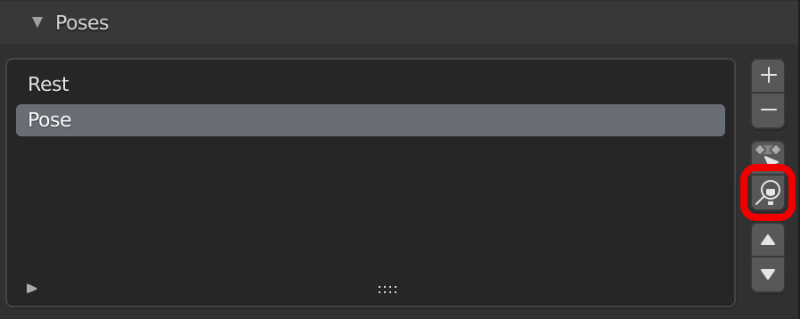
Our first pose will define our starting point, which is just how things are, so go ahead and click the + button next to the Poses list at the bottom of the RBF Drivers panel. A Rest pose will appear in the list.
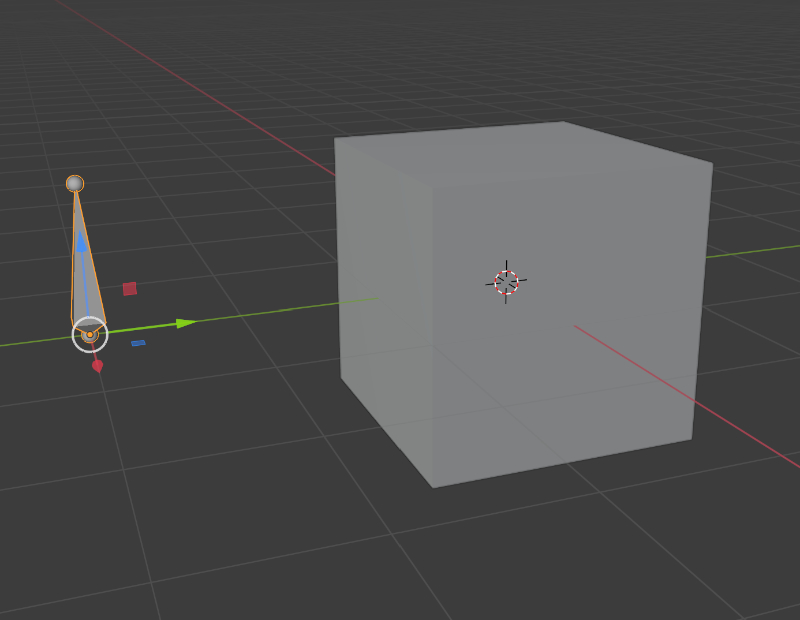
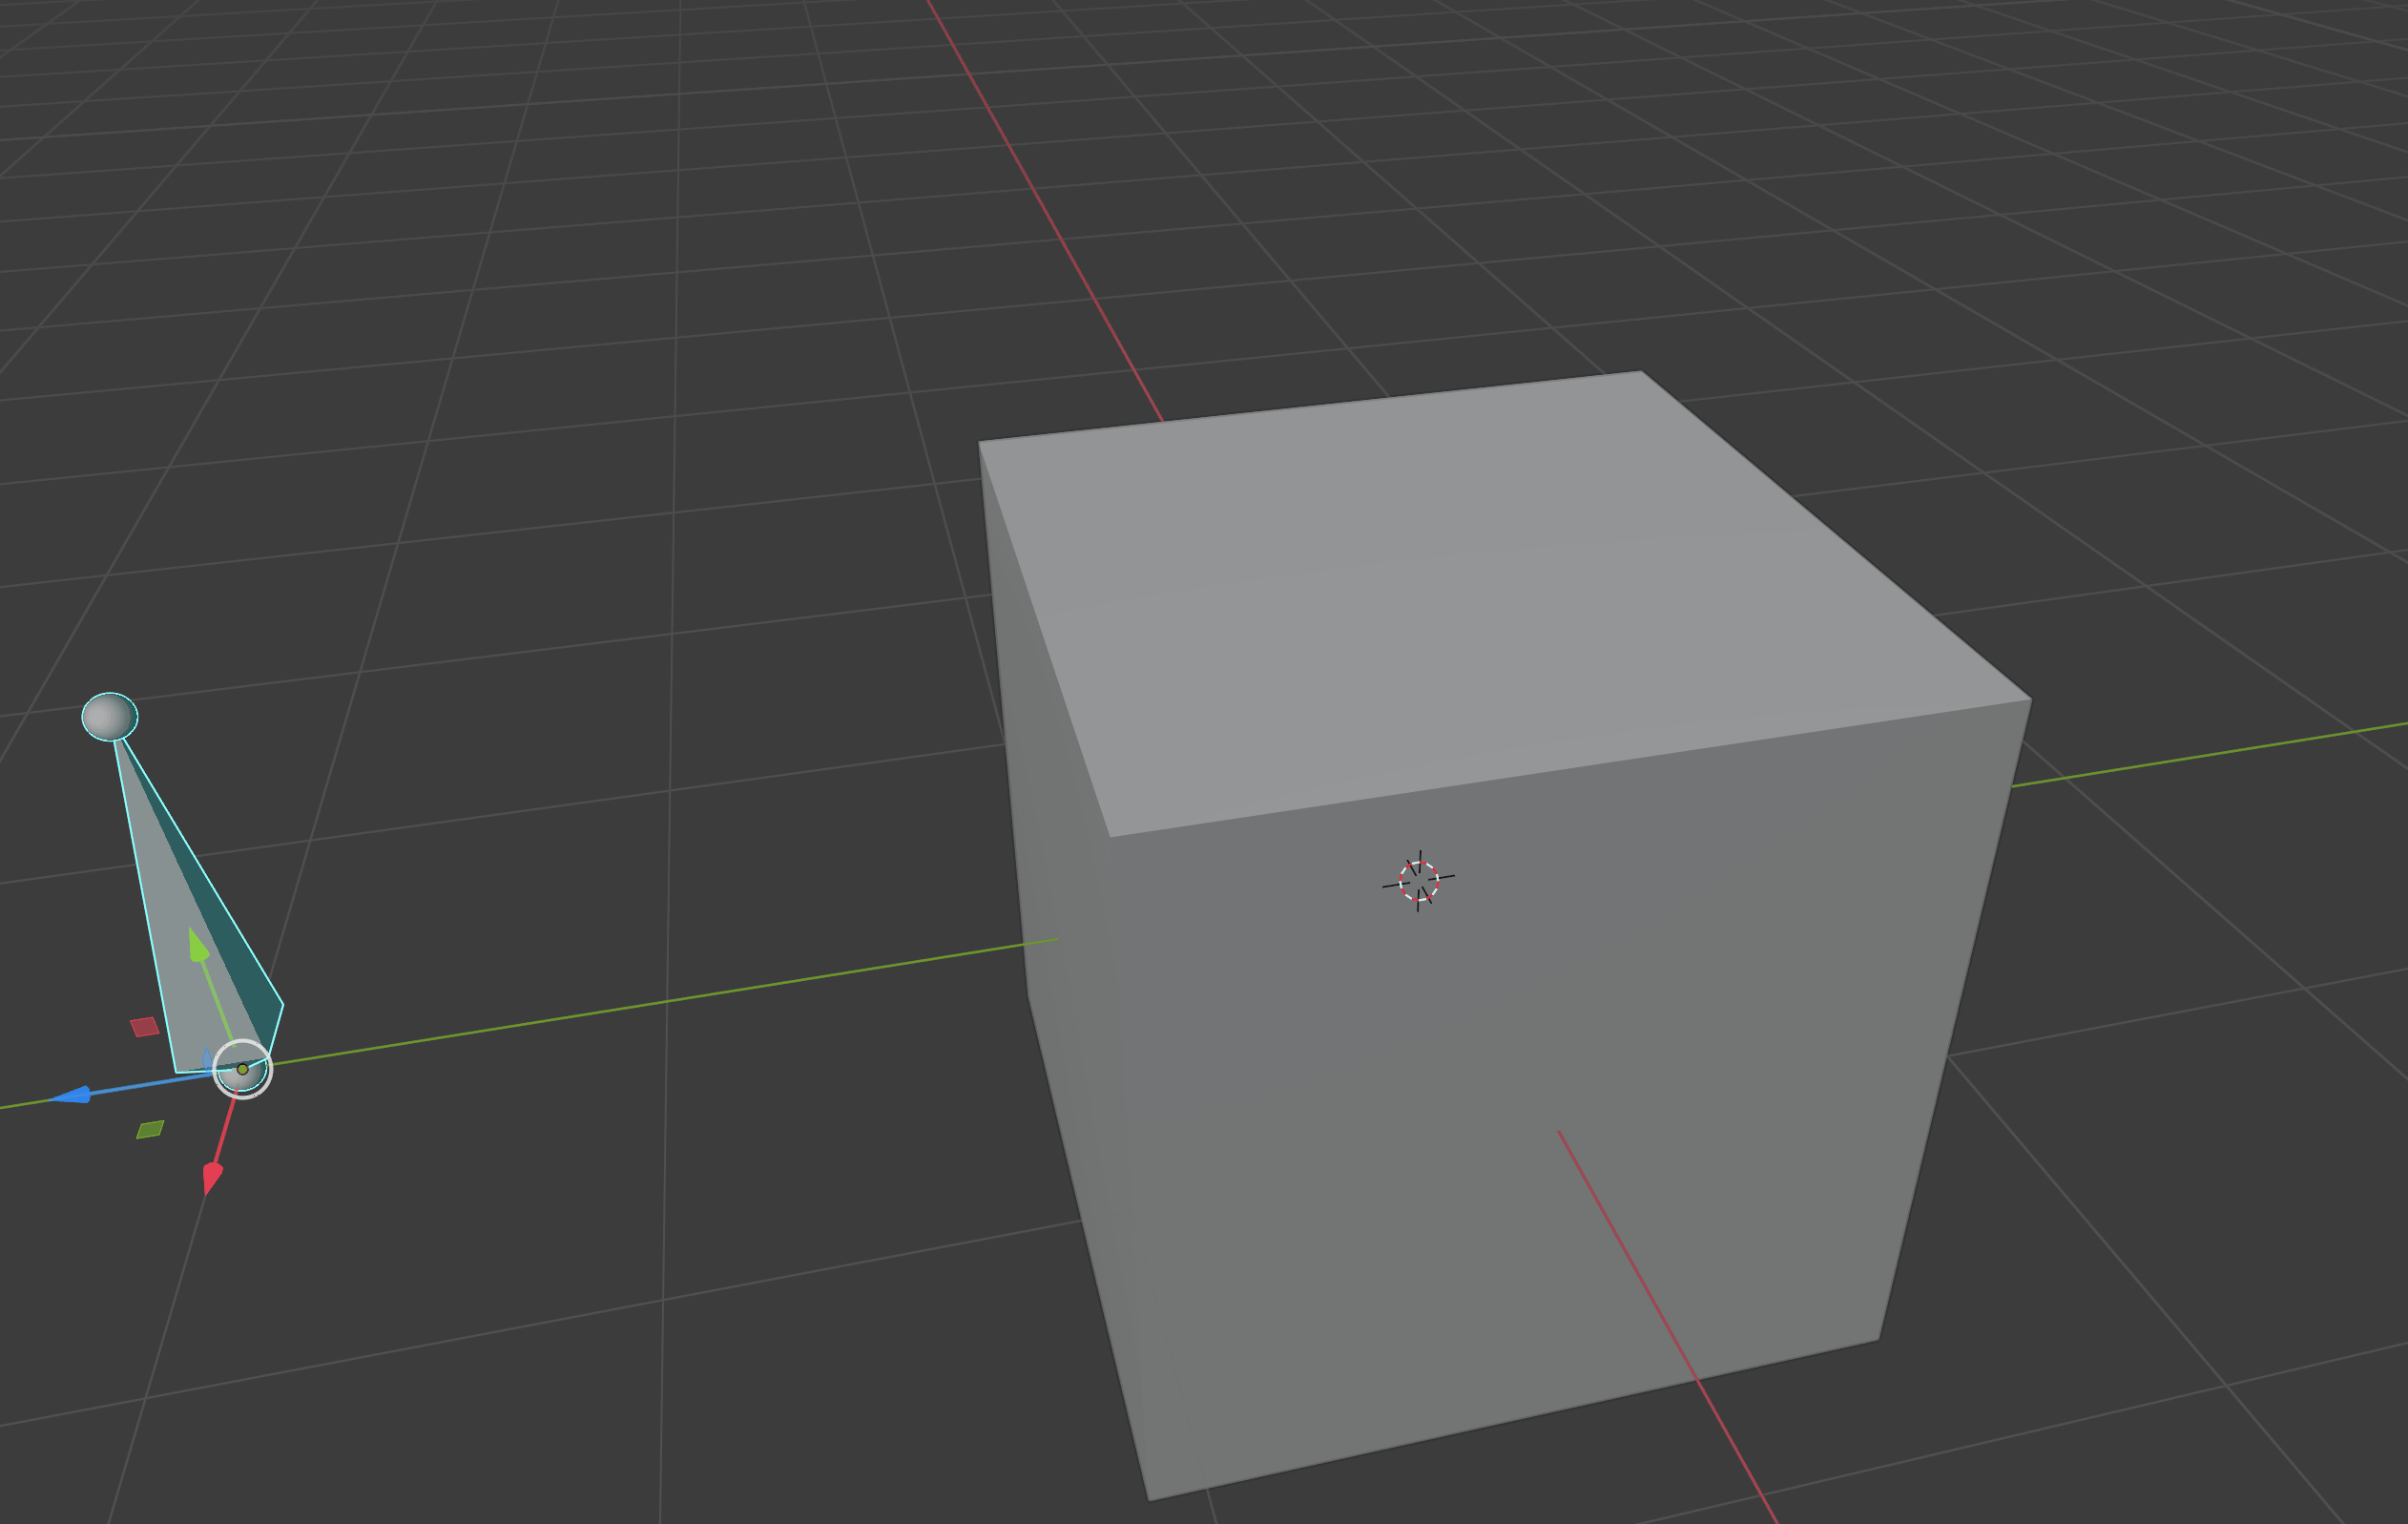
Go back to the 3D view and move the pose bone 1 unit along the Y axis, then go back to Object mode and select the cube. Rotate the cube however you wish, rescale it however you like, and move it off a bit in any direction you like, keeping it fairly close to the bone though so we can keep them both in view. I ended up with the scene below.
Reselect the armature object, put it back into pose mode and ensure that the bone is selected. Go back to the the Poses list and add a second pose.
At this point we can review our poses using the Apply button next to the list of poses. Go ahead and select a pose in the list and click Apply to view it in the 3D viewport.
Now we're ready to see things in action.
Activating the RBF Driver
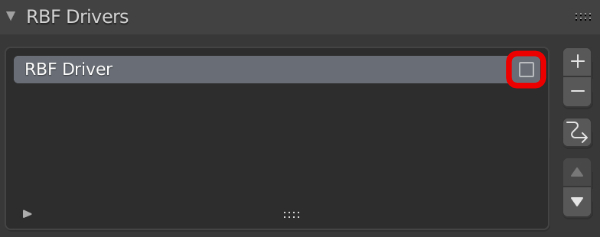
By default our RBF Driver will be disabled because we want the driven properties to remain under our control while we set up our poses. To enable them, check the box next to the driver in the list.
Playtime
Now that the RBF driver is operational, you can move the pose bone and it will drive the cube between the poses you defined:
Now's a good time to play around with the RBF settings. Try adjusting the interpolation and smoothing to see what they do.